Some of the most delicious doughnut holes on the planet. Not even kidding. Fairly simple to make too. One winter when the heater decided to stop working, my mom was in Texas, brother was long-haul truck driving, and I was on my own, I used a bag of these to pay my brother's friends for coming out, working all day, and replacing the broken parts for free. They said the doughnut holes didn't last but an hour after they left here, haha.

Ingredients:
Step-by-step pictures and steps simplified!


Take out 2 eggs and your one cup of milk and set out for thirty minutes to come to room temperature. Or forget about it and leave them out for almost an hour like I did. Yes... that's over a cup. Details.


Now this is how I get the perfect circular ball of dough. I scoop an inch of dough and pull it back and forth from one spoon to another. Scraping down the sides spoon with the dough. That way you end up with a small circular ball.


About half the size of the teaspoon.


 |
I posted original recipe here - http://oldworldcharm-modernliving.blogspot.com/2011/03/easy-cake-doughnut-holes.html, but this one is going to have step-by-step pictures and my changes.

My sexy writing and scribble to quickly get the recipe down on a piece of paper. You can see it came from the Food Network as the original recipe. lol
Ingredients:
3 1/2 cups cake flour (or use all-purpose)
3 tsp baking powder
1 tsp baking soda
1 tsp salt
1/2 tsp cinnamon
2 eggs, room temperature
1 cup sugar
3 tbsp unsalted butter*
1 cup milk, room temperature
1 tsp vanilla extract
fat for frying (or not if you prefer baking)
*for chocolate doughnut holes, melt 3 ounces of unsweetened chocolate along with butter and continue as directed
Directions:
Sift together the flour, banking powder, baking soda, salt and cinnamon in a large bowl. In the bowl of an electric mixer fitted with a paddle, beat the eggs until foamy, gradually add the sugar and continue to beat until thick and yellow. Melt butter in a saucepan over low heat an combine with milk and vanilla extract. Stir the milk mixture into the egg mixture until blended. Add the dry ingredients to the wet ingredients and mix just until incorporated. Chill for 30 minutes to make it easier to deal with.
Using 2 spoons, scoop one inch size balls (they puff up BIG time when frying) and drop into oil.
Heat 3-inches of vegetable oil or shortening to 375* in an electric fryer or deep saucepan. Fry doughnuts until golden, about 5 minutes each side. To keep oil temp constant, fry only a small batch at a time. Drain on paper towels.
If you'd prefer to bake them instead, then you can skip the fridge part and simply place them (halfway full) into a doughnut pan, muffin pan (make sure to grease!), or any other pan you wish to cook it in. Bake in a 325* oven for approximately 15-20 minutes. Start keeping a close eye on it at 10 minutes and then test with toothpick. When inserted in center and comes out clean, you'll know they're done!
Step-by-step pictures and steps simplified!


Take out 2 eggs and your one cup of milk and set out for thirty minutes to come to room temperature. Or forget about it and leave them out for almost an hour like I did. Yes... that's over a cup. Details.

Put your 3.5 cups of flour into a bowl.

Add your 3 tsp baking powder

Add your 1/2 tsp cinnamon

Cinnamon goes in

This is how I measure out some nutmeg. I like to throw in a "fingertip." Very professional measure-er I am.

Mix up your dry ingredients; set aside.

Mix your eggs until foamy. I cheated and brought out my new electric hand mixer.

Add your sugar.

Mix until it thickens and changes color. See how it's turned a light pale yellow.
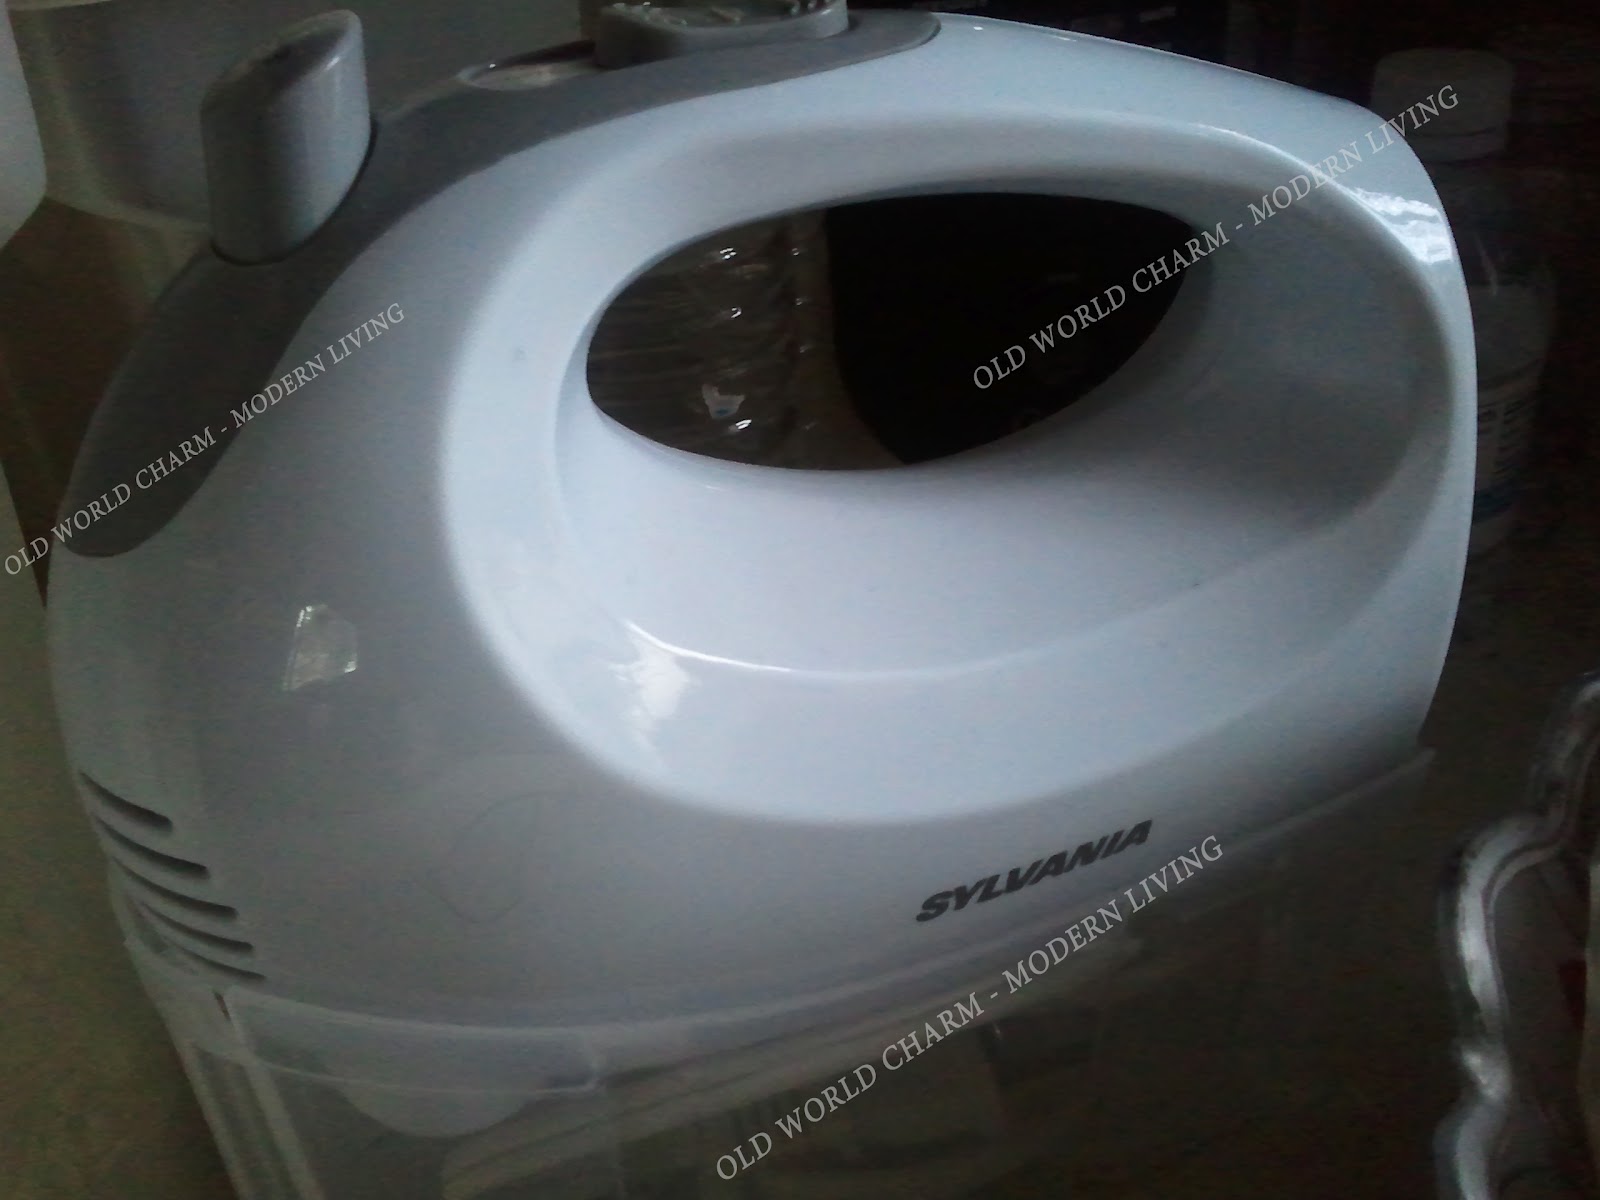
My new mixer. :)

Add your milk and mix up.

Add wet ingredients to your dry. I'm sure some would do it in parts, I just dump all in.

Mix just until incorporated. To maintain the softness of the doughnut interior, you don't want to over mix it. Just until you no longer see dry.

Cover with plastic and stick in fridge. Wait at least 30 minutes, or forget about it and not be able to get around to it like I did for a few hours. Either way, it'll be fine, but 30 minutes will chill it so you can work with it better.

Heat your oil.

Start your oil at medium.

Now this is how I get the perfect circular ball of dough. I scoop an inch of dough and pull it back and forth from one spoon to another. Scraping down the sides spoon with the dough. That way you end up with a small circular ball.


And you can see, you end up with a small ball.


About half the size of the teaspoon.

Drop into the hot oil, by pushing it quickly off the spoon. You want to be lower, but it's hard to get a picture of what I'm doing with it, and do it at the same time.

Fry your doughnut holes until they're brown.

Making sure to turn them as they fry.

Nice and golden brown!

This is what happens when you put a tablespoon of dough. That's a regular teaspoon and the ball of dough is almost bigger than a golf ball! Whoops. Too big.

Inch ball of dough makes a ball the appropriate size--about the same width and size of the teaspoon, which is typical doughnut hole size. Much better.

It's a good idea to periodically break them open and make sure they've cooked all the way through. This is perfect. Like a cake inside.

Even if you get them too dark, they still taste great. This is showing varying colors they will cook. You can see the one in the back which is in half. It was way too big so it didn't cook through. Simple fix. Break in half, then just drop in to cook center.
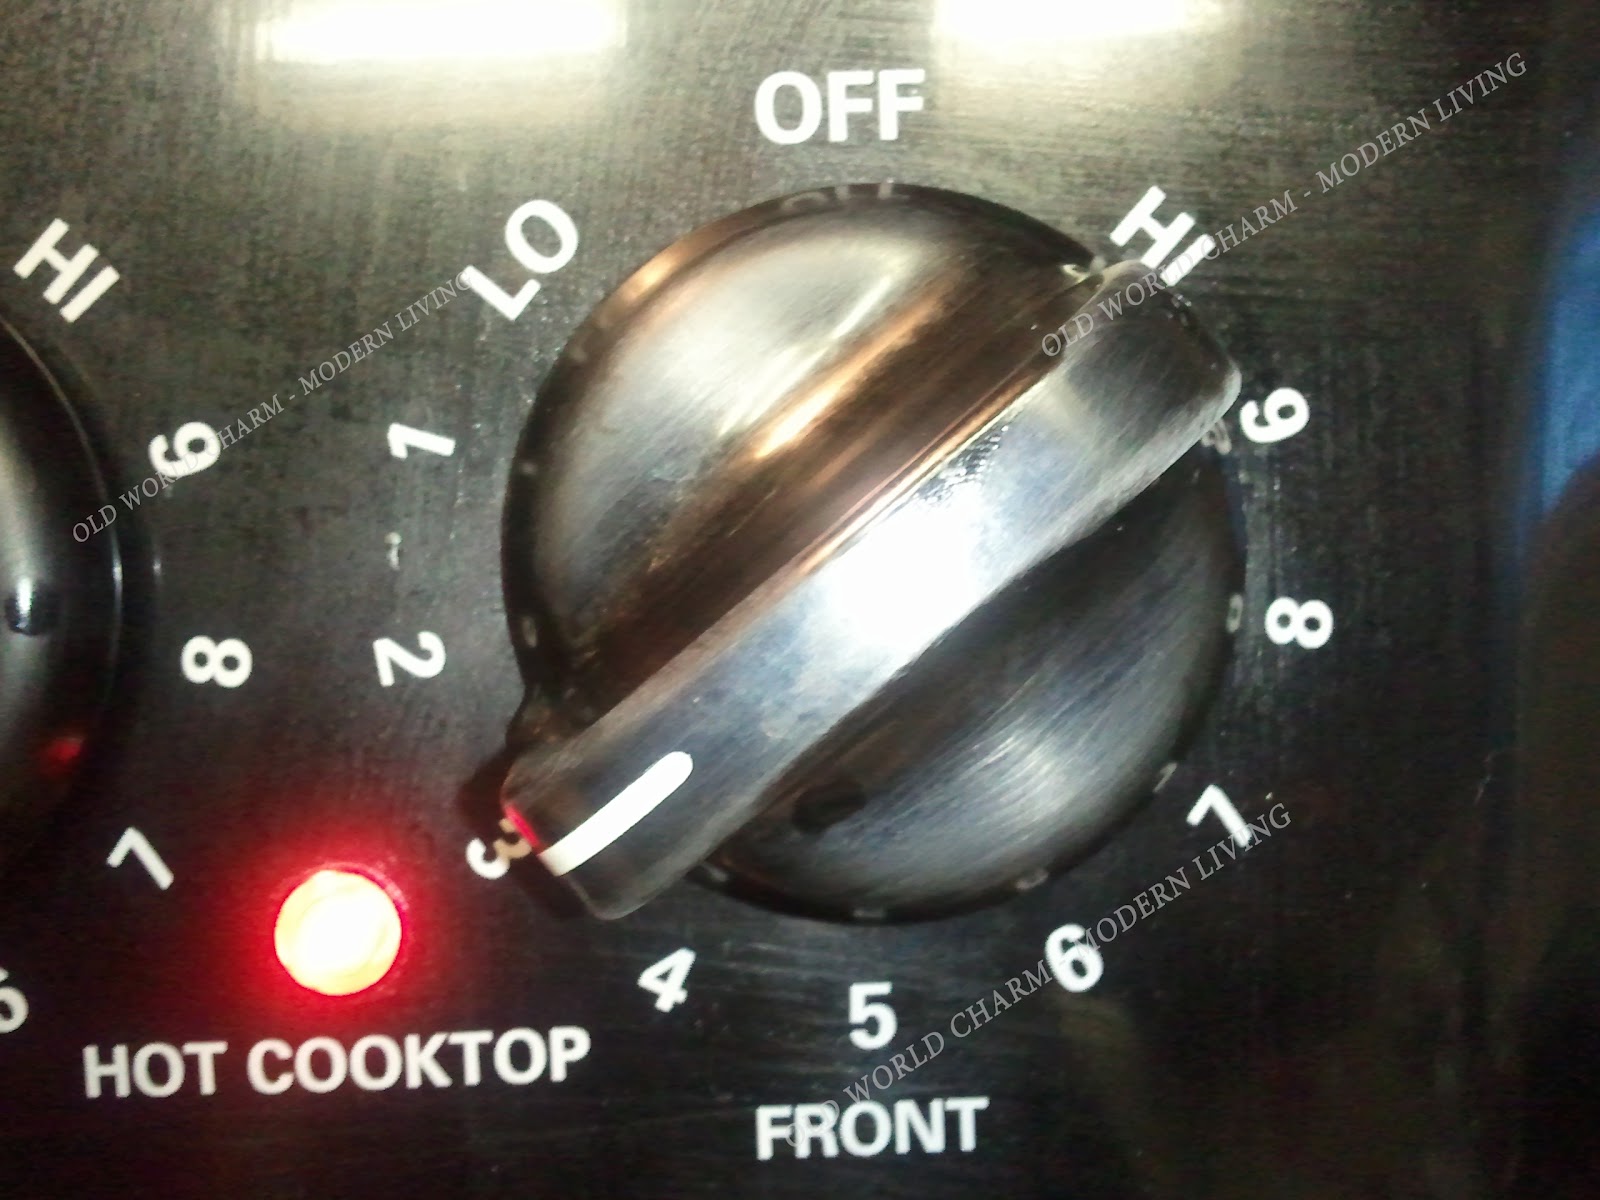
Since mine were getting too dark, too quick (which wasn't letting the interior cook), I lowered the heat. This is showing that yes, you can cook them at a lower heat, and they will still be fine.

Set them aside to cool and drain.

When the doughnuts are cool, you can coat them with cinnamon sugar...

While hot, coat in powdered sugar to give them an icing coating.

Or wait until they cool so that they can be covered in powdered sugar and it doesn't melt.


You end up with a big HUGE mountain of delicious doughnut holes! They can be left plain as well. They are delicious.
If you try the recipe, drop me a comment and let me know how they turn out!
Comments
Post a Comment